Baby Poncho Knitting Pattern
Welcome to this comprehensive guide on creating a beautiful knitting pattern for newborn. As a parent or caregiver, you're likely eager to dress your little one in adorable and cozy garments that not only keep them warm but also bring joy to their daily life. Knitting is an excellent way to achieve this, offering a unique opportunity to create personalized items with love and care.
In this article, we'll delve into the intricacies of creating a baby poncho using a specific knitting pattern designed for newborns. This project is perfect for beginners who want to try their hand at knitting while also learning about various techniques that can be applied in future projects. Whether you're an experienced knitter or just starting out, this guide will walk you through each step with clarity and precision.
Contents
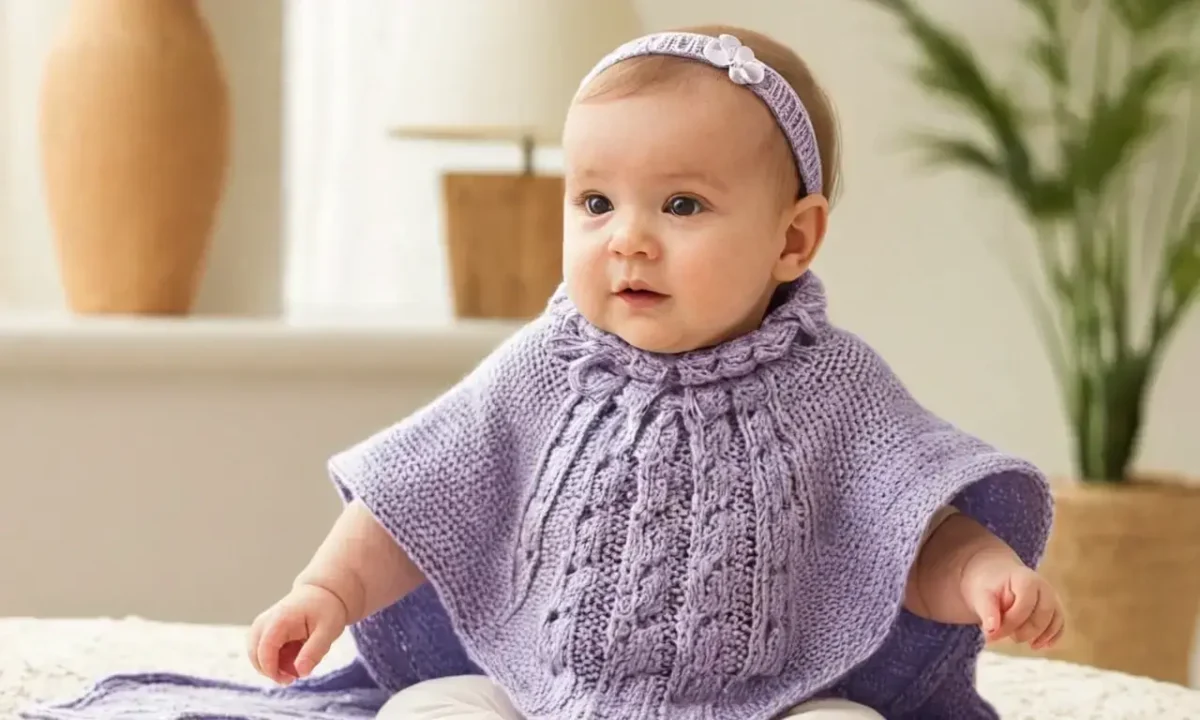
Baby Poncho Knitting Pattern
The baby poncho knitting pattern we'll explore is a delightful project that combines simplicity with functionality. It's designed to keep your newborn snug and comfortable while also being easy on the eyes. The pattern involves working with two types of yarn, A and B, which will be used for different parts of the garment.
To begin, you'll need to cast on 176 stitches using a circular needle or double-pointed needles. This initial round sets the foundation for the rest of the project. As we progress through the pattern, you'll encounter various decreases that will shape the poncho into its final form.
Round 1
The first round is crucial as it establishes the stitch count and begins to set the dimensions of your baby poncho. To knit this round, follow these steps:
- Knit 2 stitches.
- Work a slip-slip-knit decrease (ssk).
- Knit 84 stitches.
- Knit 2 together.
- Place a marker to indicate the beginning of the round.
- Knit 1 stitch.
This sequence will result in a total of 176 stitches, which is essential for maintaining the poncho's shape and size. Remember to keep track of your markers as they'll be crucial later on in the pattern.
Rounds 6 and 7
After completing several rounds of knitting, you'll reach rounds 6 and 7, where the focus shifts from shaping to maintaining the stitch count. These rounds are straightforward:
- Knit.
- Slip markers from left to right needle as you meet them.
This process ensures that your work remains even and prevents any potential errors in the pattern. It's essential to maintain consistency throughout these rounds to achieve a smooth, flat fabric.
Round 8
Round 8 introduces another decrease sequence that will further shape the poncho:
- Knit 1 stitch.
- Work a slip-slip-knit decrease (ssk).
- Knit 82 stitches.
- Knit 2 together.
- Slip marker.
- Knit 2 stitches.
- Work a slip-slip-knit decrease (ssk).
- Knit 82 stitches.
- Knit 2 together.
- Slip 2 together.
- Knit 1 stitch.
This round is critical in reducing the number of stitches and creating a more defined shape for your baby poncho. Be sure to follow the instructions carefully, as the decreases will affect the overall appearance of the garment.
Split For the Neck Opening
Once you've completed several rounds of decreasing, it's time to split the work to create the neck opening:
- Row 1 (right side): Knit 1 stitch.
- Work a slip-slip-knit decrease (ssk).
- Knit to 2 stitches before next marker.
- Knit 2 together.
- Slip marker.
- Knit 2 stitches.
This sequence begins to shape the neck area, creating a more defined opening for your baby's head. Remember to keep track of your markers as you work through this section.
Shape Shoulders
The shoulder shaping is an essential part of the poncho pattern:
- Row 1 (right side): Knit 2 stitches.
- Work a slip-slip-knit decrease (ssk).
- Knit to 2 stitches before next marker.
- Knit 2 together.
- Slip marker.
This process will help you create a more defined shoulder area, which is crucial for the overall fit and comfort of your baby's poncho. Be patient and ensure that each row is completed accurately.
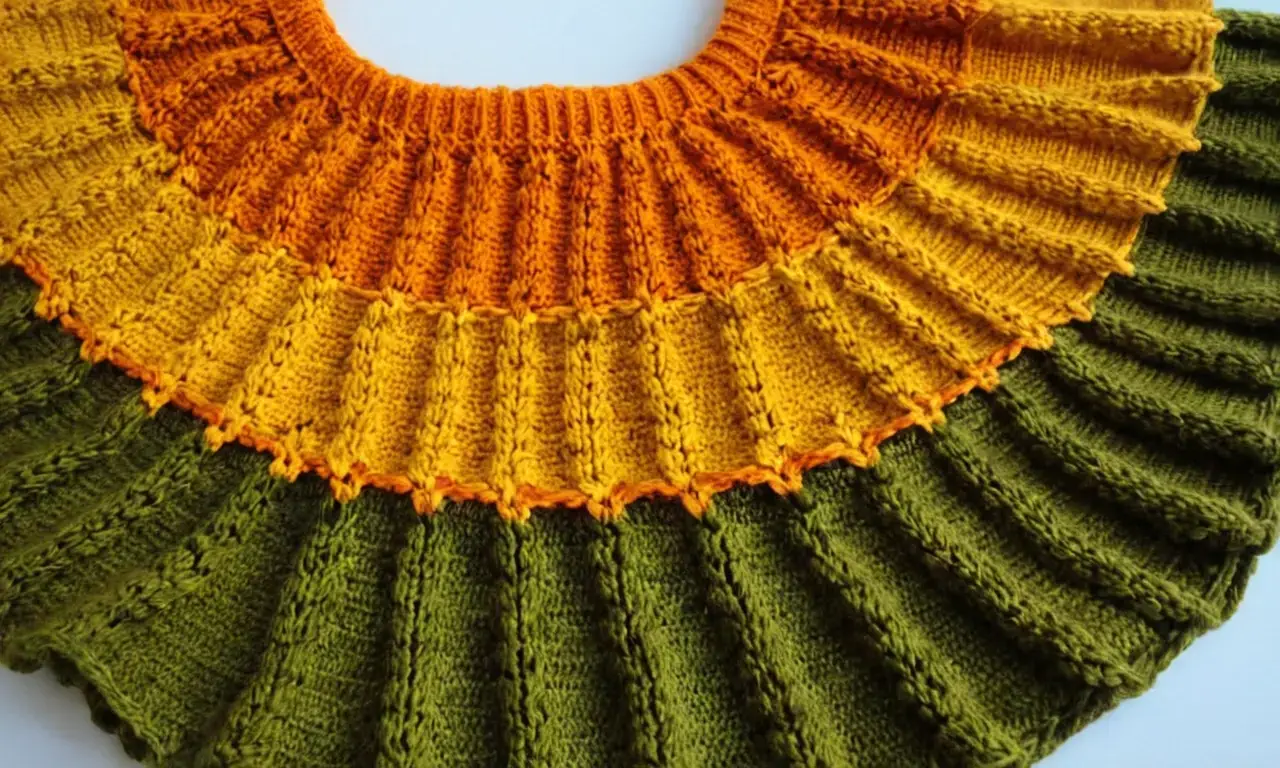
Neck Edging
After shaping the shoulders, it's time to work on the neck edging:
- Knit 2 stitches.
- Work a slip-slip-knit decrease (ssk).
- Knit to end of row.
This final step ensures that your baby poncho has a neat and tidy finish around the neckline. Take your time and ensure that each stitch is secure before moving on to the next step.
Finishing
The finishing touches are crucial in completing your baby poncho:
- Weave in ends.
- Block the garment if desired.
- Add any embellishments, such as buttons or appliques.
This final stage allows you to add a personal touch to your project and ensure that it's ready for use. Whether you choose to block the garment or keep it simple, the end result will be a beautiful, cozy poncho for your newborn.
Make the Fringe
To give your baby poncho a unique look, consider adding a fringe:
- Cut yarn into desired length.
- Fold and secure with a stitch.
- Repeat around the edges of the poncho.
This step adds a decorative touch to your project while also providing an easy way to adjust the length of the garment. The fringe can be customized to fit your personal style or preferences.
Make the I-Cord
The I-cord is another essential element in creating a baby poncho:
- Cast on stitches for I-cord.
- Knit back and forth until desired length.
- Secure with a stitch.
This process creates a long, thin cord that can be used as a tie or embellishment. The I-cord adds an extra layer of functionality to your project while also providing a stylish element.
Make the Tassels
To complete your baby poncho, you'll need to create tassels:
- Cut yarn into desired length.
- Wrap around yarn bunch.
- Secure with a stitch.
- Repeat for second tassel.
This final step adds a playful touch to your project and provides an opportunity to customize the look of your baby's garment. The tassels can be adjusted in size or color to fit your personal preferences.
Tips for Knitting
As you embark on this knitting journey, remember that practice makes perfect. Don't hesitate to ask for help if you're unsure about any part of the pattern. Additionally, consider using a swatch before starting the full project to ensure that your gauge is correct and the fabric will be the right size.
In conclusion, creating a baby poncho with this knitting pattern offers a rewarding experience that combines functionality with style. Whether you're a seasoned knitter or just starting out, following these steps will guide you through each stage of the process. So why not give it a try?
Pond Dip Net: A Simple yet Effective Tool for Aquatic Exploration
Paper Dolls: A World of Imagination and Creativity

Contrasting Slip-Stitch Baby Blanket Pattern

Free Knitting Patterns for Home & Baby
Leave a Reply
Related Links